Step-by-Step Guide
BlipCut AI Lip Sync is now available for video translation that allows you to generate lip-synced videos after AI video translation. Here is the simple guide:
1. Access to BlipCut Web Version
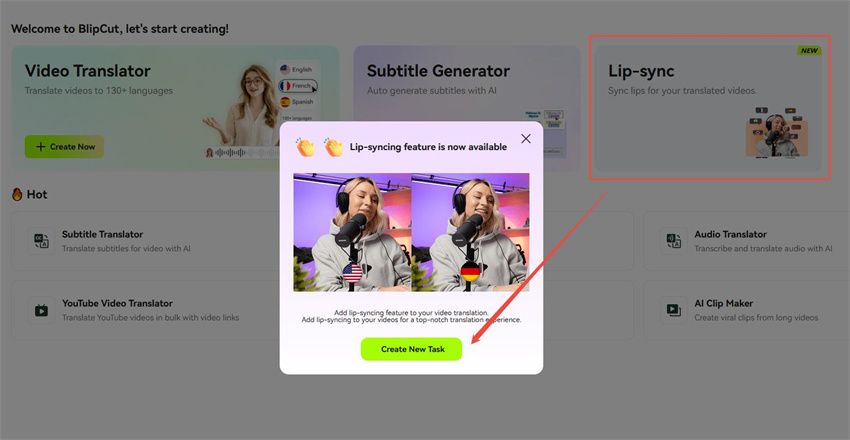
Click one the below button to access to the official website of BlipCut web version on your desktop. Select the "Lip-sync" option then click "Create New Task" button.
2. Upload A Video File
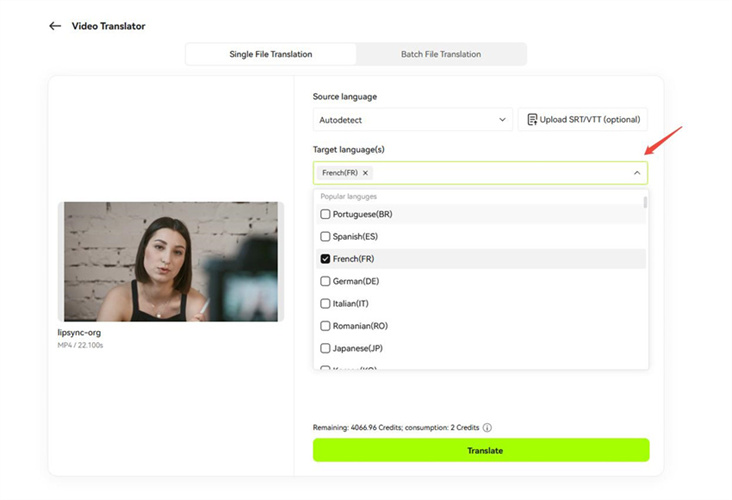
Upload the video you want to lip sync. For a perfect result, please make sure your video meets our video requirements:
- Video duration must be under 5 minutes.
- Ensure the text has been proofread before starting lip-sync.
- Faces are clearly visible and mouths are not obscured.
- The video is well lit with no shadows or overexposure.
Then select a target language for your lip-synced video. If you don't want to translate video, you can choose a target language that is the same as the source language. Please note, that lip sync is used for the video translation feature, so translation is an essential step, and credits will be deducted for translation.
3. Start Translation
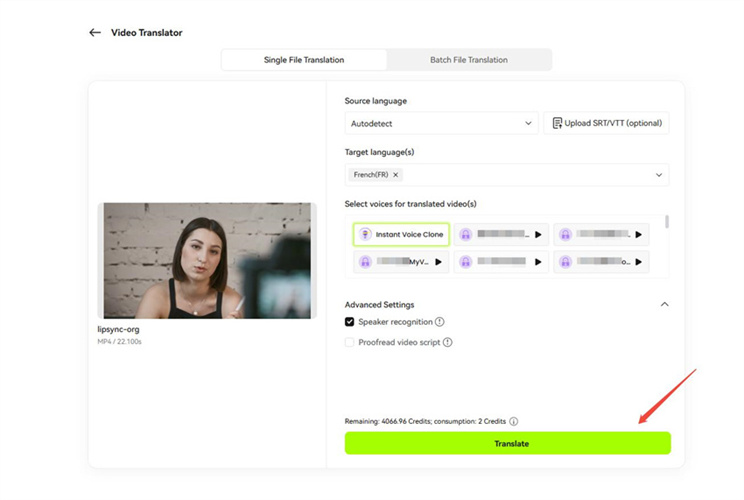
Select a preset voice or choose voice cloning for your lip-synced video. Then click Translate button to start translation.
4. Start Lip Syncing
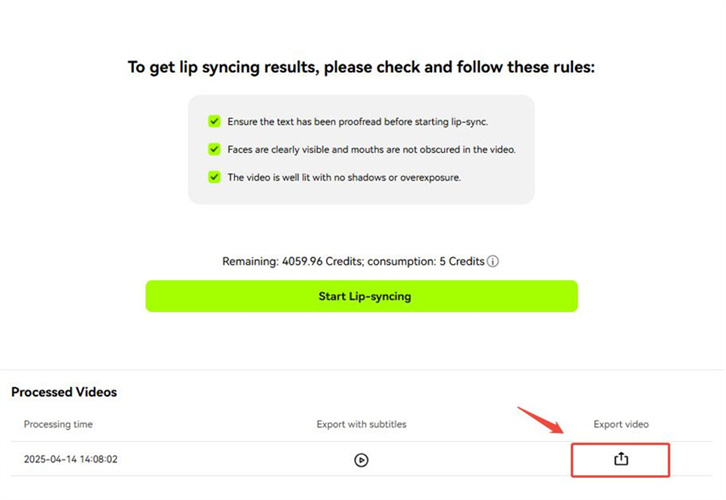
After video translation, choose "Lip-sync" from the left toolbar. View and check the video requirements. Then click "Start Lip Syncing" button.
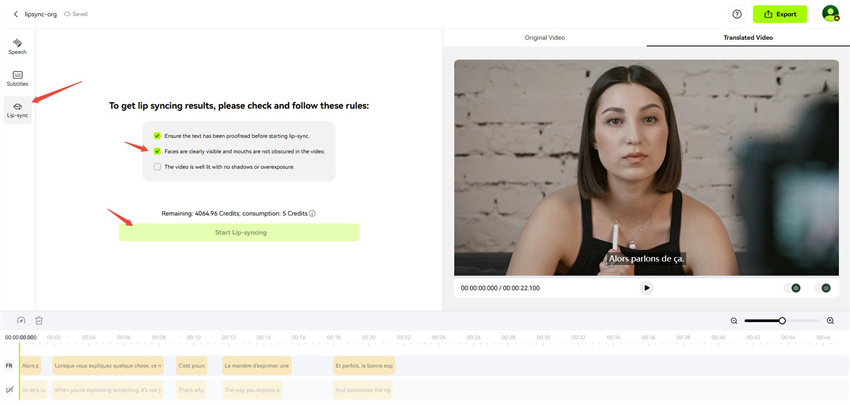
Lip Sync will take some time to process, we will notify you by email when it is successfully processed. In the meantime, you can leave this page or process other videos.
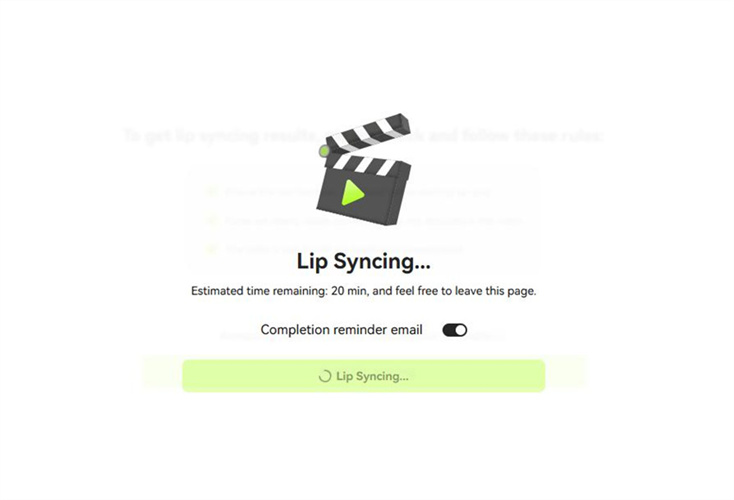
5. Preview Lip-synced Video
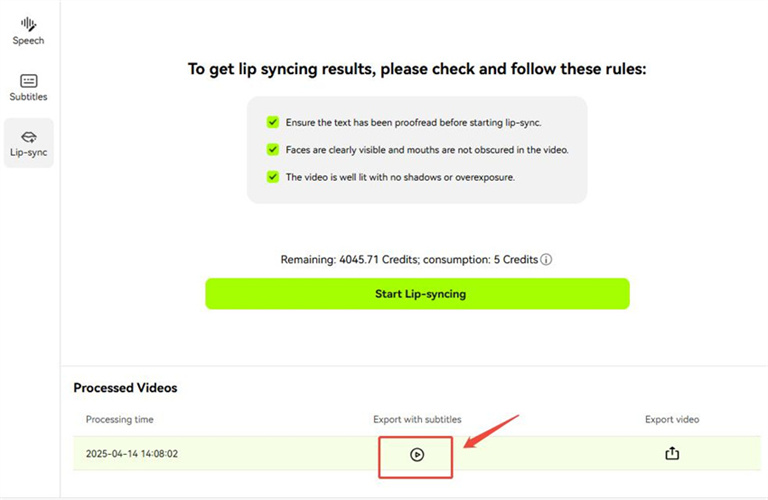
Click the play icon to preview your lip-synced video.
6. Download Lip-synced Video
You can download it by clicking the “Download” button in the preview pop-up window, or by clicking the Export icon.
