Step-by-Step Guide
> Step 1: Upload Your Audio
Click on the Upload button to choose audio from your device or just paste an audio link from our supported websites.
Make sure you have the speaker inside the audio or the translation will fail. And, we do not recommend that you choose to upload music files.

> Step 2: Select One Language
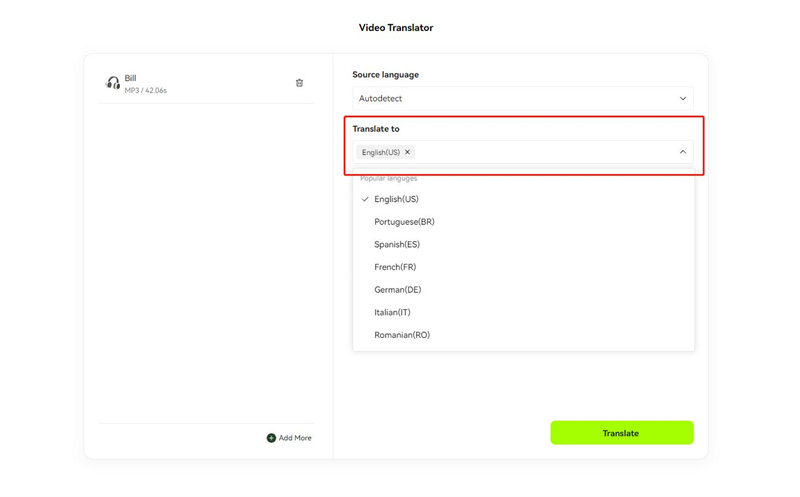
You need to select a target language to translate the audio. As for the source language, you can choose it as you wish, because we will recognize it automatically even if the source language is not selected.

> Step 3: Select Voice
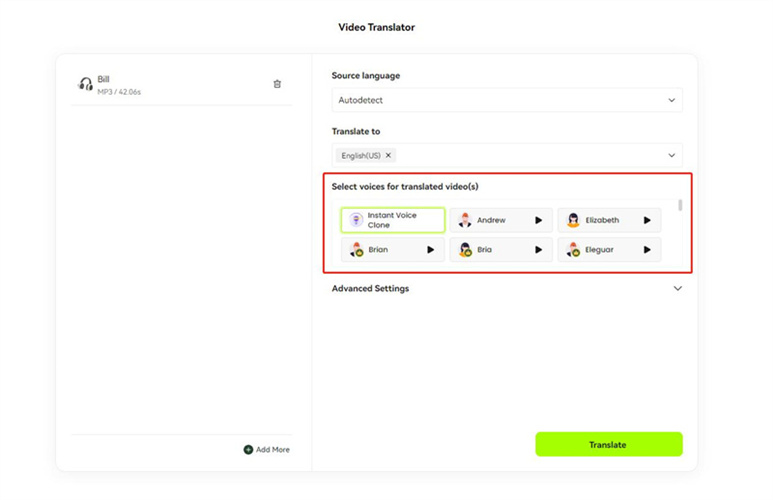
You can choose voice cloning to clone the voices from your video. Or choose from the preset voices which are natural-sounded as well.

Note
- Voice cloning will cost twice as many credits as normal voice.
- Premium voices are only available for purchased users.
> Step 4: Make Advanced Settings & Start Translating
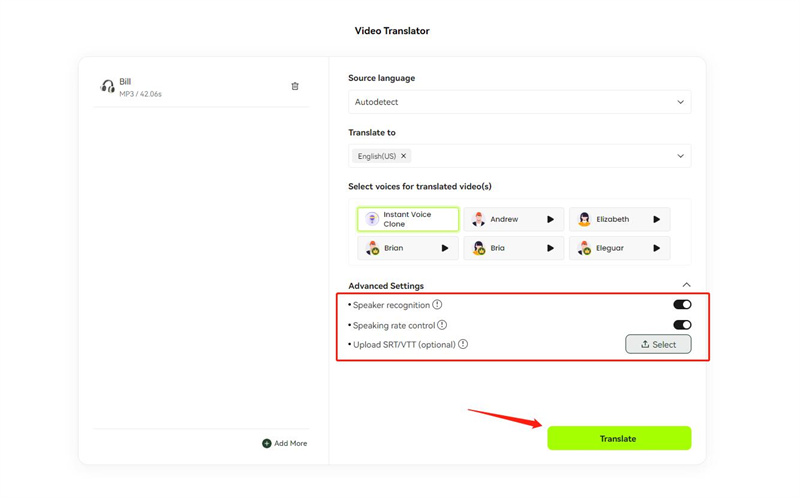
You can choose to upload SRT/VTT subtitle file to make the translation more accurate. And enable "Speaker recognition" and "Speaking rate control" options to make better results. After all settings are done, you can click on "Translate" button now to start your AI audio translation.

Frequently Asked Questions
How many languages supported for voice cloning?
There are 70 languages that support voice cloning, namely English, Portuguese, Spanish, French, German, Italian, Romanian, Japanese, Korean, Hindi, Arabic, Indonesian, Russian, Turkish, Chinese (Mandarin), Filipino, Polish, Dutch, Swedish, Ukrainian, Malay, Finnish, Slovak, Greek, Czech, Danish, Bulgarian, Tamil.
What kinds of audio formats are supported?
BlipCut supported translating audio in .mp3 and .wav formats.
