Step-by-Step Guide
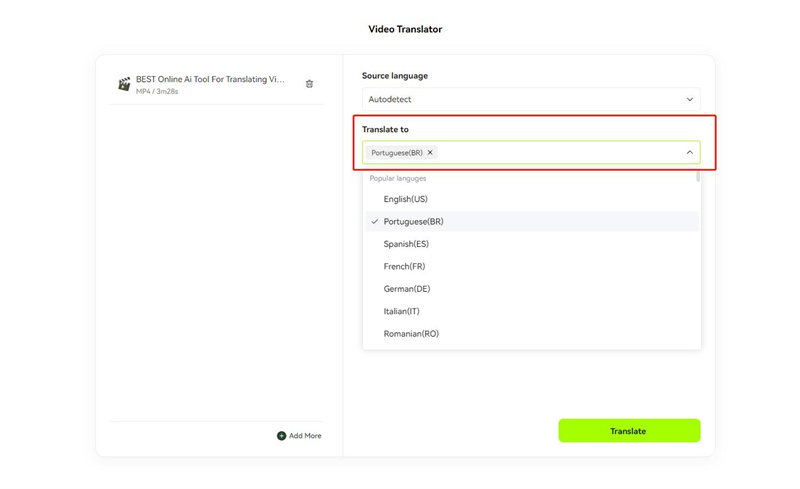
> Step 1: Upload & Translate
Upload your file to start AI translation. If you have any question on this step, please refer to this guide on how to translate video in BlipCut.

> Step 2: Edit Timestamps
In the Edit page, locate the timestamp you want to edit and click to make the changes.
Note: Translation card end time cannot exceed the start time of the next translation card.

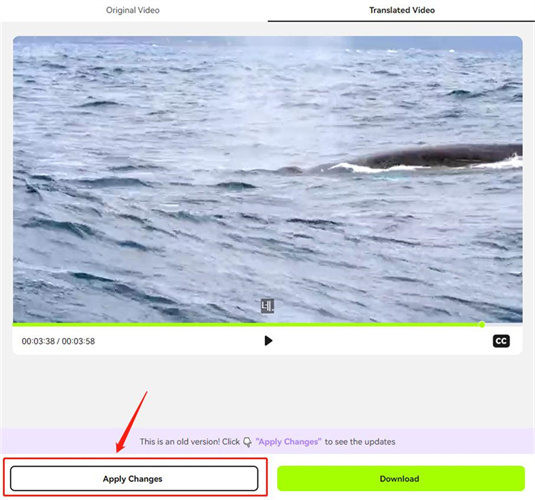
> Step 3: Click "Play" Icon
After finishing adjustment, please click on the "Play" icon to apply changes before downloading.

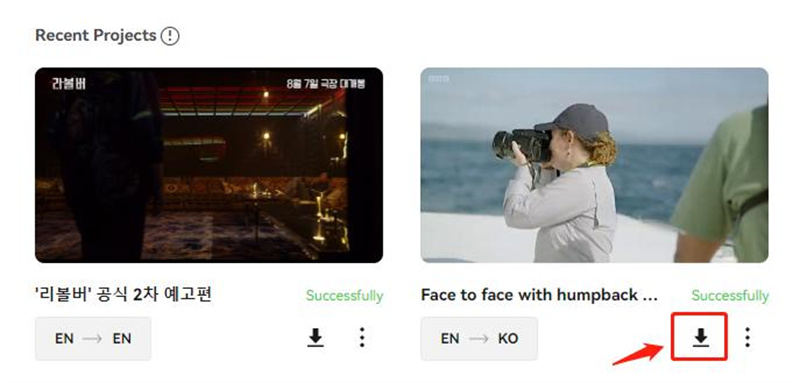
> Step 4: Save New Translated Video
Finally, you can save the new version of the translated video/subtitle from the Recent Projects.

