You might need to save your voice memos in MP3 format to expand their usability if your job requires you to record audio using the app. This is because the audio files saved through this application are saved in the M4A format by default.
There are several effective ways to change the type of recorded audio, depending on the device you are using. In this article, we will discuss the top and easiest ways to convert voice memos to MP3.
Part 1. How to Convert Voice Memo to MP3 on iPhone?
The app might not offer you a direct method to export the recorded voice as an MP3 when recording the voice using this application. There are several solutions discussed in the following section that let you convert the recorded audio into the desired formats:
Solution 1. Fixing With the Voice Memos and Files App
You would need a third-party application to process the conversion of the default voice memo format to MP3. One such application is Media Converter, which makes it easier for you to convert a voice memo to MP3. Using this approach, users can save the recorded audio to their device’s storage in the Files App and change the format using such an application.
Besides M4A to MP3, the application allows users to convert their media into other formats. To learn how to use the third-party application for saving the recorded audio in MP3 format:
Step 1:Start the process by accessing the Voice Memo app on your iPhone and recording the audio. Tap the Done button located on the right side when the voice is recorded. Access the recorded file by tapping on it and selecting the Share option. To save audio files in the Files app, press the Save to Files option and get the job done.

Step 2:Moving forward, launch the converter app and tap on the Convert Audio tab on the homepage. Next, tap the Files option to add the recorded file to the app’s interface. Following that, choose MP3 as the desired output after expanding the relevant drop-down.
Step 3:When the file is added within the interface, play to review it and make format settings if required. Since the settings are configured, press the Start button and execute the conversion. When the format is successfully converted, tap More to perform the desired actions on the converted file.
Solution 2. Using the Voice Memos App and GarageBand
Another convenient solution for how to convert a voice memo to MP3 is using the GarageBand app. You can convert the audio recorded into compelling ringtones and songs using this application and convert the result into MP3 using any online converter. Let us show you how to execute the process through the below-mentioned steps:
Step 1:Launch the GarageBand app on your phone and tap on the Loop icon at the top-right corner. Access the Files section to add your recorded voice memo to the app’s interface. Now, long-press and drag it to the sound editor to apply different effects to the song.
Step 2:Once done, tap the Arrow Down icon located on the left to save the memo as a song to your device’s storage.
Step 3:Now, head to your phone's browser and access any online format converter to add the created song using the Choose Files option. After selecting MP3 as your output format, select the Convert button to successfully get the voice as MP3.
Part 2. How to Convert Voice Memo to MP3 on Mac?
If you are recording the voice from your Mac, you can still make the audio accessible for multiple platforms by converting it into MP3. You can conveniently use the Music app on your stem to convert the M4A recorded file into MP3. This approach enables you to save and share voice recordings outside the Apple ecosystem. Read the steps mentioned below to learn the process of converting a voice memo to MP3:
Step 1:To begin the process, access the Voice Memo application on your Mac and record the voice using its microphone. Next, click the Done option to stop the recording and automatically save it to your device’s storage.
Step 2:Launch the Music app and add your recording to the app’s interface using the Import button from the File option.
Step 3:After the recording is successfully imported within the interface, click it and head to the File menu. Now, expand the Convert option and select Create MP3 Version to save the recording as an MP3 file.
Note:
Before starting the conversion, make sure the Import Settings in the Music app is selected as MP3 Encoder.
Part 3. 3 Free Online Tools to Convert Voice Memo to MP3
After learning the offline solutions to convert voice memos to MP3, let us explore the online tools that provide the utility of changing the audio formats:
Tool 1. Online Audio Converter
This online tool provides an easy-to-use interface for users to conveniently upload their files for conversion. With multiple quality options, users can save the converted file with the highest quality through this tool. Moreover, users can add sound effects like fade in and fade out to the uploaded voice recording. This efficient online audio converter also provides the ability to choose the Bitrate as per the requirements.
Pros
Through this tool, users can decide the sample rates for the audio file.
It lets you edit the track info, such as title, year, and more, before executing the conversion.
Con
The conversion formats offered are limited compared to other resources available.
Tool 2. FreeConvert
If you are looking for a solution for how to convert a voice memo to MP3, this online tool lets you add files from your device and other cloud storage. Users can simply upload their voice memos in M4A format and convert them into MP3 with a single click. Additionally, users can make volume adjustments for voice recorded before starting the conversion process.
Pros
To add a dynamic flair, you can apply effects like fade in and out to the audio.
The tool offers a built-in trimmer to remove unwanted parts of the audio.
Con
It does not allow you to modify or update the audio info.
Tool 3. Restream MP3 Converter
It is an online converter that has the expertise to let you conveniently convert any audio into MP3 or other audio formats. The tool allows users to upload large files up to 2GB and process the conversion quickly. The drag-and-drop utility offered by the platform allows users to add their recordings conveniently to the interface.
Pros
Besides uploading already recorded files, the tool offers a recording mode to record audio in real time.
You can use this online tool for audio editing and fine-tuning.
Con
You need its premium version to benefit from all the features offered by this platform.
Part 4. Best Way to Turn Your Voice Messages to Text
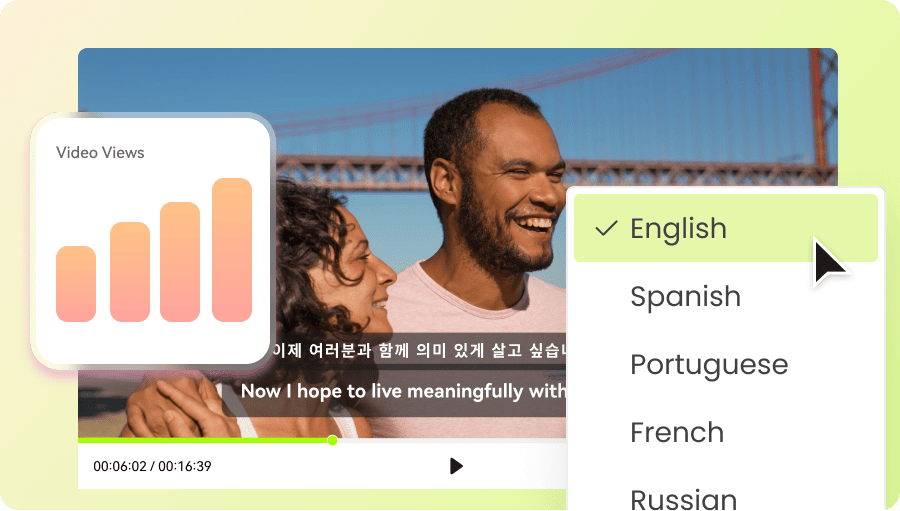
To make your recorded voices more accessible, you can convert them into text form using tools like BlipCut AI Video Translator. The tool utilizes advanced AI to analyze the spoken words in your voice memo and convert them into accurate text. Users get the ability to upload audio in multiple formats, including MP3 and M4A, to BlipCut AI Video Translator's interface.
Moreover, you can edit and stylize the generated text according to your preferences. It allows users to delete a certain text or add a text block before saving the file to the device.
Other Core Features of BlipCut AI Video Translator
-
Video Translation: Apart from converting a voice memo to MP3, this online platform offers video translation in more than 140 languages.
-
AI Voiceover: Users can add realistic voices in different accents to add as voiceovers to their visual content.
-
Lip Syncing : The platform also offers the utility of generating accurate lip sync with the spoken words in different languages in your video.
-
Subtitle Customization: It allows you to customize the generated subtitles in terms of color, font, size, and more.
After learning how do I convert a voice memo to MP3, let us explore how to change the audio into text using this tool’s speech-to-text functionality:
Step 1. Choose the Speech to Text Function
Using the official BlipCut AI Video Translator work interface, enable the More Tools section on the left. Now, locate the Speech-to-Text feature from the options provided and click it to proceed to the next interface.


Step 2. Upload Media and Select Language
Here, upload your voice memo in M4A format using the designated option. Next, for your audio, decide on the Source Language using a dedicated drop-down list. If you want to add translation too, select the Target Subtitle Language; otherwise, choose No Translation. Now, from the bottom, press the Generate button and gear up the conversion process.
Step 3. Review the Text and Export
When the audio is converted into text in the next interface, review and modify it according to your preference. Expand the Export option to select output formats and click the Export button to save the voice memo as text.
Part 5. FAQs on Converting Voice Memo to MP3
Q1. What is the best format for voice memos?
A1: The best format for saving a voice memo is MP3 first, as it is one of the widely used audio types that is compatible with numerous platforms and devices.
Q2. How to convert WhatsApp audio to MP3?
A2: To transform WhatsApp audio to MP3, you are advised to use third-party applications since many are available. You simply have to save the voice message to your device and import it into the converter app. The app will transform it into MP3 format once you press the Convert button.
Q3. How do I convert a voice recording to text?
A3: To change the voice recording into text, you can use tools like BlipCut AI Video translator. The tool supports multiple audio formats and then converts them into accurate text.
Conclusion
To sum it up, this article discussed some of the most reliable ways to convert a voice memo to MP3. Using these solutions, you can expand the usability of your recorded file. However, to change the recording into editable text, use BlipCut AI Video Translator because it uses advanced AI to analyze spoken words for precise text conversions.
Leave a Comment
Create your review for BlipCut articles


Blake Keeley
Editor-in-Chief at BlipCut with over three years of experience, focused on new trends and AI features to keep content fresh and engaging.
(Click to rate this post)