Whether narrating a presentation, creating a tutorial, or enhancing a promotional video, adding a voice over to your Canva video can transform it from ordinary to engaging. With the exciting features of Canva, users can personalize videos and effectively communicate their message. But if you’re confused about how to add a voice over in Canva video, no worries. This guide will provide three simple methods on how do you voice over a video on Canva, along with an alternative option using BlipCut for making your videos more dynamic and impactful!
Part 1: How to Do Voiceover on Canva: 3 Methods
If you want to use Canva to add voice over to video to enhance the storytelling of your video, it’s simple. Here are the three primary methods to complete this task:
Method 1: Upload Your Own Audio to Canva
This method is perfect for those who prefer professionally recorded audio or external tools to create voiceovers. Here are the steps to add audio to Canva video:
Step 1: Once you have a voiceover audio file, launch Canva and open a video project.
Step 2: Click “Uploads” from the left column and import the audio file from your device, Google Drive, Dropbox, or Google Photos.
Step 3: Drag the audio to your video timeline, move it to the right spot, and check it by hitting the play icon.
Step 4:Hover the mouse over the audio file and click the three dots to adjust, fade, beat sync, and change volume.
Step 5: If everything is okay, press the “Share” tab from the top-right corner and save it as you like. That’s it!

Method 2: Record A Voice Over on Canva
Did you know Canva allows you to record audio directly within the platform? This method is ideal for creating narrated slideshows or voiceovers on the fly. Let’s comply with the given steps on how to record a voice over on Canva:
Step 1: When your Canva project is finalized, click the three-dot menu from the top-right corner and choose the “Present and Record” option.
Step 2: Now, tap “go to the recording studio.” You can skip the camera permission as you only need to record a voiceover. Set up your microphone, and click “start recording” to proceed.
Step 3: Next, read your script aloud. When you record, a waveform graphic will appear. This graphic will sync your speech with the video. When the recording is complete, press “End recording.”
Step 4: Then, tap the “Save and exit” button. You can listen back to your recording to check its quality and syncing. Later, export it to your device. All done!
Method 3: Add Voiceover with Murf AI on Canva
For a professional and consistent AI-generated voiceover for projects that require automation or multilingual options, you can use Murf AI with Canva. Here is how to add voice over to video on Canva with Murf AI:
Step 1: Launch the Canva app or website and go to the “Apps” section on the right side of the panel. Now, search for “Murf AI” and press “Enter” from your keyboard.
Step 2: Next, click the “Murf AI” app icon and press “Open” > “Connect.” A new window will open, requiring you to sign up or sign in to the Murf AI account.
Step 3: Later, you can use the Murf AI app to add voiceovers to your existing or new designs. Then, hit “Share” and export the output as desired. That’s all!
Part 2: How to Add A Voice Over to Video with BlipCut
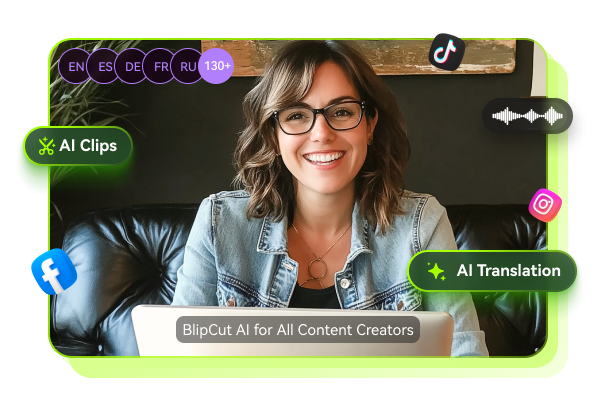
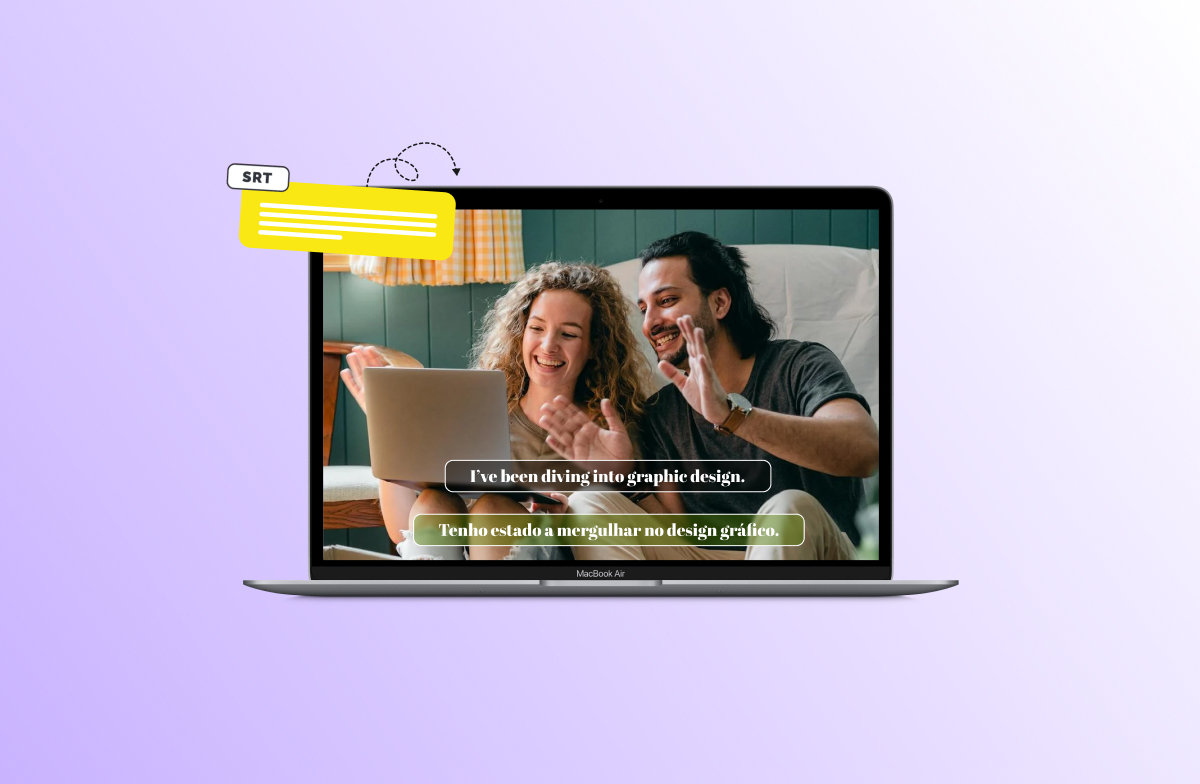
After learning to add audio to Canva, some people may also need additional editing features. In this scenario, BlipCut AI Voiceover is an excellent alternative that helps you create professional and unique voiceovers with over 1300 realistic voices in 140+ languages. You can also mimic someone’s style and tone to create a humanized voiceover. It eliminates the need for any recording equipment like microphones. You can even listen to the voiceover output before exporting it to your device.
Main Features:
-
Instantly convert text to speech online with AI
-
Allow uploading media files to add the audio directly
-
Use multiple AI voices in a single video to bring diversity
-
Support the translation of voices into different languages
-
Add pauses and divide dialogues into blocks for accurate syncing


Steps to use BlipCut to Add a Voiceover to a Video:
Step 1. Access the Voiceover Feature
First of all, access the BlipCut AI Voiceover website on your browser to start a new project and press the “Create Voiceover” button to proceed with the voiceover generation.
Step 2. Enter the Script and Choose the Voice
Now, add your script to the text box, and you can break the dialogues by pressing the “Add A Block” button. You can also select the voice type and language from the left-side column. Then, press “Voiceover.”
Step 3. Review and Download
When the voiceover is generated, you can listen to it to check whether its tone and style are okay. If so, tap the “Download” tab and choose “Audio” from the menu to export voiceover to your device. That’s all!
In Summary
This post has provided various methods for adding voice over to Canva video. You can choose any that suits your needs. However, if you need to enhance your video with a quick and effective voiceover, BlipCut AI Voiceover is the ultimate solution. It helps you create realistic voices in different languages. So, try this online tool today and take your video projects to the next level!
Leave a Comment
Create your review for BlipCut articles


Blake Keeley
Editor-in-Chief at BlipCut with over three years of experience, focused on new trends and AI features to keep content fresh and engaging.
(Click to rate this post)