If you are a student and need to note down a lengthy lecture to make notes, typing each spoken word in the lecture could be challenging and time-consuming. Whether you are a Mac or a Windows user, needing the right transcribing resource at your disposal is quite essential.
There are many tools available over the internet that easily transform the audio into text for its users. In this article, we will explore the best resources to transcript audio to text on Mac.
- Part 1. How to Transcribe Audio to Text on Mac Directly
-
Part 2. Best Way to Transcribe Audio to Text on Mac Instantly
HOT
- Part 3. Transcribe Audio to Text on Mac With 4 Other Tools
- Part 4. Comparison Between 5 Ways to Transcript Audio to Text on Mac
- Part 5. FAQs on Transcribe Audio to Text on Mac
Part 1. How to Transcribe Audio to Text on Mac Directly
Before looking into third-party transcribing tools, it is better to explore the built-in Mac tool. You can create a transcript in more than 60 languages using this platform. It allows you to select the transcription language to generate the editable text. Users can generate the transcript in the Notes app or a browser, as per their choice. Follow the guide below to discover how you can set it up and use it for transcription:
Step 1:First, select the Apple logo from the top left of your screen to enter a pop-up menu. Using this menu, select the System Settings option to head to a new window.

Step 2:In the next window, scroll down to select the Keyboard settings and a new interface will expand on the right. Here, turn on the Dictation toggle and select the Language and Microphone Settings to proceed. Using this section, you can also designate a Shortcut key to trigger the speech-to-text functionality.
Step 3:Open the application where you need to type with speech and enable this utility by using the designated hotkey. This will enable a small microphone in the corner which indicates that you start speaking to transform your words into text in real time.
Part 2. Best Way to Transcribe Audio to Text on Mac Instantly
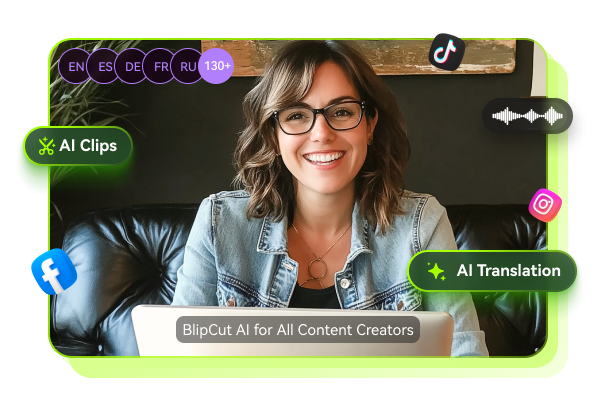
Although the built-in macOS transcription tool is functional, it lacks many advanced functionalities. As an ideal replacement for that, BlipCut AI Video Translator enters the scene. With its multilingual support, this platform takes your audio input and translates it into over 140 languages. Although the results are accurate, you can still edit the transcript for perfection. For effective audio-to-text conversion, this platform allows you to upload multiple multimedia files and batch process.
If you do not have a file on your device, paste a URL to fetch its information and transcribe it.
Other Features of BlipCut AI Video Translator
Subtitle Generator: This feature allows you to generate translated subtitles to cater to a wide audience. The subtitles can be customized using the built-in subtitle templates.
Video Translator: Upload a video and translate it using strong speech recognition features. The translated file can be previewed and exported in MP4 format.
Video Dubbing: Translate a video through dubbing using the collection of over 1,300 life-like AI voices. These voices can be filtered by age, gender, and use case to generate precise results.
Voice Cloning: Use the voice cloning feature and add your own voice to dub a translated video. You can also use this utility to translate your videos into more than 25 languages.
To learn how to use this platform to transcribe audio into text, follow the guide below:
Step 1. Upload a Video into the Video Translator
To start the process, open BlipCut AI Video Translator on your browser and use the main interface to enter the More Tools tab. On being directed to the next page, click the AI Transcription button to enter a new interface. Here, click the Upload File(s) button to select an audio file from the computer or Dropbox.


Step 2. Specify the Translation Language and Continue
As the audio thumbnail appears, select the Source Language and the Target Subtitle Language(s) using the relevant drop-down menus. To start the transcription process, click the Generate button at the bottom.
Step 3. Edit the Transcript and Export
When the original language and translated transcripts appear on the next page, edit them if needed. Now, click the Export button from the bottom right of the screen and access the next window to download the files.
Step 4. Download the Transcript File to the Device
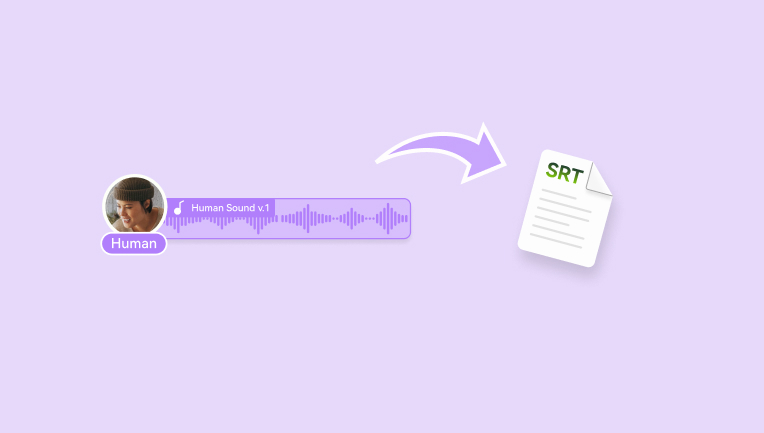
From the extended window, select the Transcript box and select the Download button to export the transcript file in SRT or VTT format.
Part 3. Transcribe Audio to Text on Mac With 4 Other Tools
Having explored BlipCut AI Video Translator as a reliable translation tool, let's look into more web-based options. The following list covers the features, pros, and cons of these audio and video transcription tools:
1. Descript
Users can highlight certain sections of the transcript across Descript by changing their font color and weights. For a professional polish in the text, it allows you to remove filler words and remove unnecessary word gaps to optimize the video’s file size.
Key Features
-
Once transcribed, users can export the text file to their device in TXT or DOCX formats.
-
While downloading the transcript, select if you want to export the timecodes alongside.
-
Descript allows you to include speaker labels if you have designated speakers for text.
Pros
![]()
-
Besides, you can dub a video using the AI speakers or the voice cloning features.
-
Users can use their transcript and generate speech from it using built-in AI voices.
Con
![]()
-
Unlike most tools, the language support of Descript is limited to 25.
2. Sonix
Leverage the collaborative features of Sonix to join your team for a transcription project. You can leave comments and notes for improvement in the work. To further enhance the project’s accessibility, this platform allows you to transcribe your files in more than 53 languages.
Key Features
-
After transcription, users can download their files in SRT and TXT formats.
-
The generated transcript can be edited to enhance the accuracy.
-
To give your video subtitles a lift, customize the text using formatting options.
Pros
![]()
-
Besides video, transcribe your MP3 and WAV audio files using this tool.
-
Sonix is ideal for all tasks, from large projects to small ones.
Con
![]()
-
The free version of Sonix only allows thirty minutes of free transcription.
3. Happy Scribe
This platform allows users to export the output as a subtitled video or a transcript file. Once generated, the textual transcript is converted into embedded subtitles. To adjust the readability of the transcript-turned-subtitles, you can select the number of words per line.
Key Features
-
To generate content for a global audience, Happy Scribe supports more than 120 languages.
-
You can customize the captains using extensive font formatting tools.
-
For precise results, choose between human-generated and AI transcripts.
Pros
![]()
-
Users can access and manage their transcribed files in the designated cloud storage.
-
This platform allows you to edit the timestamps to achieve accuracy in transcription.
Con
![]()
-
Happy Scribe downloads transcripts in webpage format and does not offer any text file formats for transcript export.
4. Notta
Besides editing transcriptions on Notta, users can bookmark their favorite segments of the transcript to read them later. Once generated, the transcript files can be exported in PDF, TXT, and SRT formats. Besides transcribing uploaded videos, Notta can process live YouTube videos for real-time results.
Key Features
-
As you make edits to the generated transcript, the changes are saved automatically.
-
Users can choose if they want to integrate timestamps in the transcripts or not.
-
With the transcription vocabulary feature, you can add custom vocabulary to the output.
Pros
![]()
-
Besides video transcription, Notta can be used to take real-time notes from a meeting.
-
You can consume the bulk import feature to save time and upload multiple videos simultaneously.
Con
![]()
-
The user interface of Notta can be intimidating as it has cluttered features and buttons all over.
Part 4. Comparison Between 5 Ways to Transcript Audio to Text on Mac
Having learned about all the transcription resources in detail, let us now have a comparison between them:
| Platforms | Language Support | Transcript Download | Transcript Editing | Accuracy |
|---|---|---|---|---|
| BlipCut AI Video Translator | 140+ | SRT, VTT | Present | High |
| Descript | 25 | TXT, DOCX | Present | Low |
| Sonix | 53+ | SRT, TXT | Present | Moderate |
| Happy Scribe | 120+ | Webpage | Present | Moderate |
| Notta | 35 | PDF, SRT, TXT | Present | Low |
Part 5. FAQs on Transcribe Audio to Text on Mac
Q1. How many languages are supported by the built-in Speech-to-Text feature of Mac?
A1: The language support offered by Mac for its built-in speech-to-text feature is more than 60 languages. The platform supports multilingual inputs to allow users to switch between languages easily.
Q2. What is the most accurate way to get translated subtitles for your content?
A2: The most convenient way to translate subtitles in more than 140 languages is by utilizing BlipCut AI Video Translator. The platform uses advanced AI to detect your content and generate accurate translations across it.
Q3. Can ChatGPT be used to transcribe audio?
A3: Yes, ChatGPT can transcribe audio for its users in multiple languages for its users. However, the utility is not available in the free access of this platform.
Conclusion
All in all, this article discussed some of the most reliable solutions to transcribe audio to text on your Mac devices. The article also explained how BlipCut AI Video Translator is the right choice when it comes to accurate transcription. The AI-powered tool offers translation and transcription services in more than 140 languages to make content accessibility easier for the audience.
Leave a Comment
Create your review for BlipCut articles


Blake Keeley
Editor-in-Chief at BlipCut with over three years of experience, focused on new trends and AI features to keep content fresh and engaging.
(Click to rate this post)